Barre Chord Technique Without Excess Grip
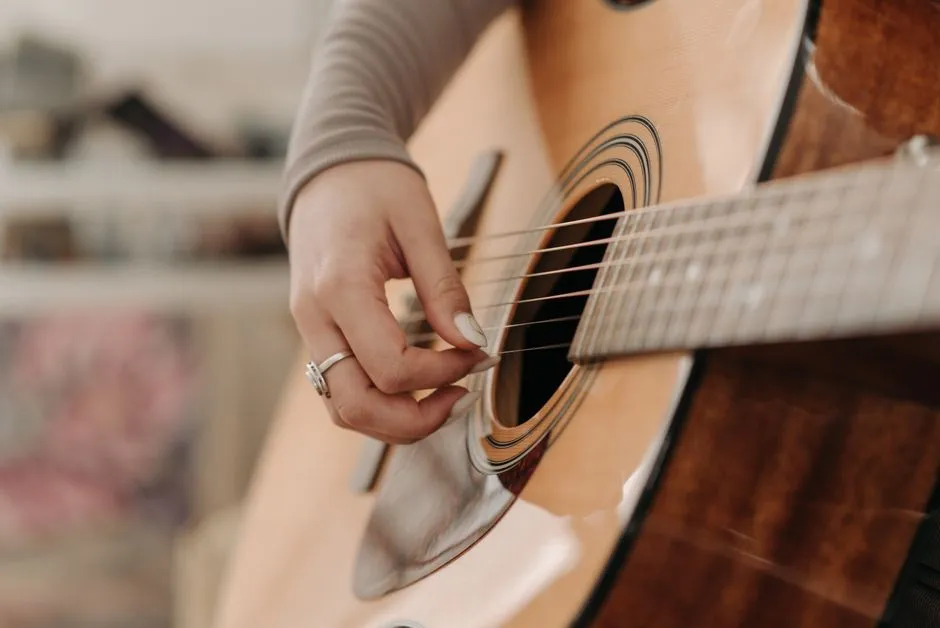
Use position and leverage before adding pressure
To play a barre chord cleanly, place the index finger close behind the fret, align the wrist and supported instrument without forcing either position, and use only enough pressure for the required strings to sound. Test strings individually, adjust finger angle in small amounts, and add the remaining chord shape gradually. Excess grip creates fatigue without guaranteeing a cleaner chord.
Stop for symptoms
Do not treat pain, numbness, tingling, weakness, or loss of control as a training metric. Stop playing when any occur. Persistent, recurring, or concerning symptoms require assessment by a qualified clinician; a qualified guitar teacher can review technique only after the immediate health concern is addressed.
If the guitar requires unusual force or buzzes broadly under normal technique, a qualified technician should assess string height, neck condition, frets, and setup. Do not attempt uncertain adjustments from general instructions.
Build the barre alone
Lay the index finger across only the strings the chord requires. Place it just behind the fret rather than midway between frets. Play each required string separately and identify the exact one that fails.
Rotate the finger by a very small amount to find a firmer surface, while keeping wrist movement controlled and symptom-free. Avoid assuming one angle fits every hand, neck, fret, and chord.
Add the chord in layers
First play a partial barre on two or three strings. Then add one fretting finger at a time. Release completely between attempts so the hand does not learn continuous clenching.
When one note buzzes, adjust the finger responsible rather than increasing pressure across the whole hand. Muting unwanted strings can also clarify whether a string is poorly fretted or should not sound in that voicing.
Use the arm and instrument support
Keep the guitar stable against the body. A small pulling relationship between the fretting arm and the supported instrument can reduce dependence on thumb squeeze, but the motion must remain controlled, stable, and symptom-free. Do not yank the neck or press the instrument into an unstable position.
Use the thumb only for the support needed to keep the fretting hand coordinated. If pressure rises, release the shape, reset the wrist and instrument position, and try a smaller movement.
Practice release as carefully as grip
Fret the chord, strum once, and release pressure while maintaining light contact. Repeat. This teaches the minimum pressure required and prevents tension from carrying into the next chord.
Use clean chord-change practice to move between a barre and another shape without rebuilding the hand from a distant starting point.
Put the shape in rhythm
Begin with one short chord per measure, then add more duration or changes. Keep the pulse at a tempo where the hand can release between events. If fatigue appears, reduce repetitions, use partial voicings when musically suitable, and return later.
A guitar warm-up can prepare coordinated movement, but it is not a reason to use force or continue through symptoms.
Barre chord technique is a problem of placement, selective pressure, stable support, and release. Make the chord smaller before making the effort larger, and use tests of individual strings to guide each adjustment.